Facing a leak test audit can be stressful, but good documentation is your best defense and a foundation of quality control. It’s not just about having records; it’s about having the right records, easily accessible and proving your process is sound. Based on our experience helping manufacturers meet strict compliance demands (from hydrogen systems to HVAC), here’s what robust, audit-ready leak test documentation involves.
- Start with a Rock-Solid Test Protocol Auditors need to understand your process. Your written test protocol is their roadmap. It must clearly define:
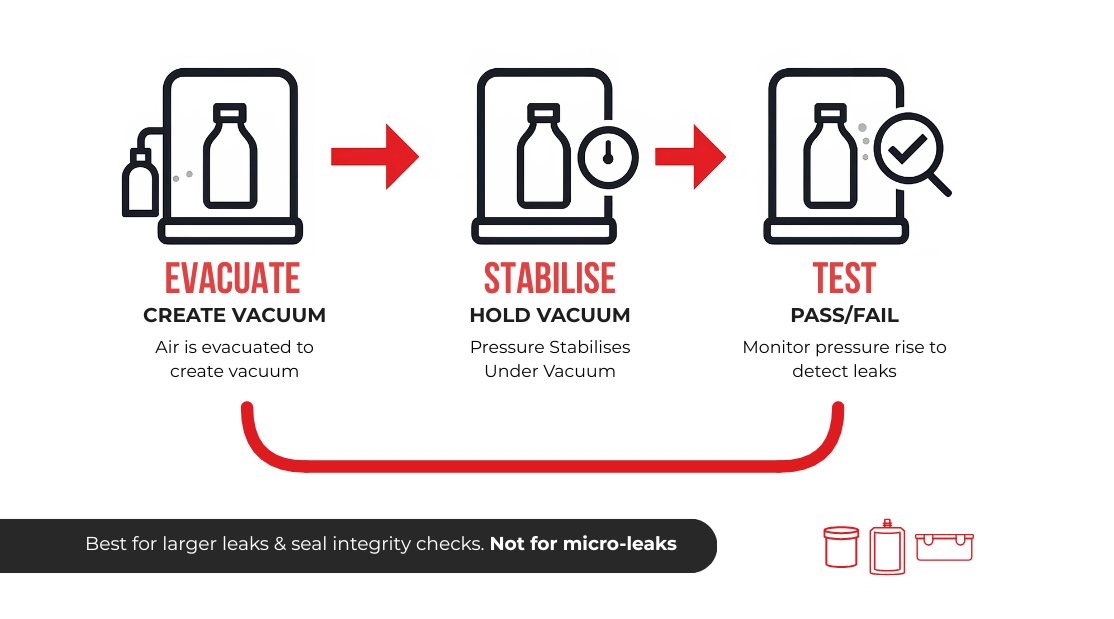
- The why (purpose of the test) and how (method: vacuum, accumulation, sniff, decay, etc.).
- Specific equipment used (including IDs).
- Key parameters: test pressure, temperature, tracer gas type and concentration.
- The essential pass/fail threshold (acceptable leak rate), referencing applicable standards (e.g., R134a, TCATSI). A clear protocol demonstrates to auditors that you have a standardised, repeatable process.
- Prove It: Link Every Test Record to a Specific Part Auditors will pick a part and ask for its test history. You need instant traceability. Ensure every single test is logged, linking the results directly to a unique part identifier (serial number, batch code, barcode scan). Key data points to capture automatically for each test include:
- Part ID
- Date and time
- Operator ID (if applicable)
- Equipment used
- Actual results (pressure achieved, final leak rate measured)
- Pass/Fail outcome Automated logging is crucial here – it minimizes errors and provides timestamped proof.
- Keep Equipment Calibration Records Impeccable “Was the test equipment accurate at the time this part was tested?” That’s the auditor’s question. You need proof. Maintain meticulous, easily accessible calibration certificates for all critical instruments (mass spectrometers, pressure sensors, flow meters, gas analysers). Records must show:
- When it was calibrated, and when it’s next due.
- The traceable standard used for calibration.
- Who performed the calibration. Have a system to flag upcoming calibration dates and prevent use of overdue equipment.
- Connect Test Data for the Bigger Picture (QMS Integration) Don’t let valuable test data sit in a silo. Linking leak test results to your broader Quality Management System (QMS) offers huge advantages. It allows for:
- Real-time visibility: Dashboards showing pass/fail rates or trends.
- Faster response: Automatic alerts for spikes in failures or unusual results.
- Easier analysis: Simplified reporting for internal reviews or management oversight. This demonstrates proactive quality control to auditors and helps you improve processes.
- Lock Down Your Data: Securely and For the Right Duration How long must you keep test records? Know your industry requirements (e.g., automotive often needs 15+ years). Store data securely:
- Use backed-up systems with controlled access.
- Ensure records are protected from tampering (digital signatures, secure formats).
- Make sure data is easily searchable by part number, date range, etc., even years later. Cloud storage solutions often provide built-in security and audit trails.
- Train Your Team A perfect system fails if people don’t use it correctly. Ensure everyone involved understands why accurate documentation is critical and how to follow procedures. Training should cover:
- Correct data entry and logging.
- How to handle anomalies or failed tests according to protocol.
- Verifying equipment calibration status before starting tests.
- Responding confidently during an audit walkthrough. Make documentation procedures part of regular training and refreshers.
Turning Audits into Opportunities
Think of meticulous leak test documentation not as a burden, but as proof of your commitment to quality. Clear protocols, traceable records, validated equipment, integrated data, secure storage, and trained staff turn audits from potential headaches into opportunities to demonstrate excellence.


