At VES, we’ve spent over 30 years helping companies get leak testing right. With thousands of our machines operating across industries like automotive and clean energy, we’ve seen firsthand what causes tests to fail. Unexpected failures cost time and money, so let’s break down the usual suspects and how to fix them.
- When the Seal Isn’t Sealing
- The Problem: Often, the simplest things cause headaches. A worn-out O-ring, a fixture that’s slightly out of line, or using the wrong type of seal material can prevent a proper connection with the part you’re testing. This leads to false failures or, worse, missed leaks.
- Quick Fixes: Keep seals fresh with regular checks and replacements. Double-check mechanical alignments, especially if you swap tooling often. Make sure your seal material can handle the temperature and any chemicals involved.
- Pesky Contaminants or Lingering Moisture
- The Problem: Tiny amounts of oil, dust, or moisture hiding inside a part can seriously interfere with sensitive leak tests, particularly those using helium or hydrogen.
- Quick Fixes: Make sure parts are clean and dry before testing – vacuum drying or an air purge can work wonders. Implement strict cleaning steps where it matters most. Keep your sensors calibrated so they aren’t fooled by background interference.
- Getting the Test Settings Wrong
- The Problem: Using the wrong test pressure, an incorrect gas mixture, or not allowing enough time for the test can make your results meaningless. This is essential in high-pressure situations, like testing hydrogen tanks, where accuracy is paramount for safety.
- Quick Fixes: Create clear, standard operating procedures (SOPs) for test settings and stick to them. Always use certified, calibrated leaks to verify your system’s accuracy. Use software to log test data automatically, making it easy to spot when parameters drift.
- Interference from the Environment
- The Problem: Sensitive tests, especially “sniff” or accumulation methods using helium or hydrogen, can be affected by things like temperature changes, nearby vibrations, or even just air currents in the room.
- Quick Fixes: If possible, test in a controlled environment with stable temperatures and minimal airflow. Shielding the immediate test area can also help block disturbances. Some advanced systems use software to compensate for environmental changes.
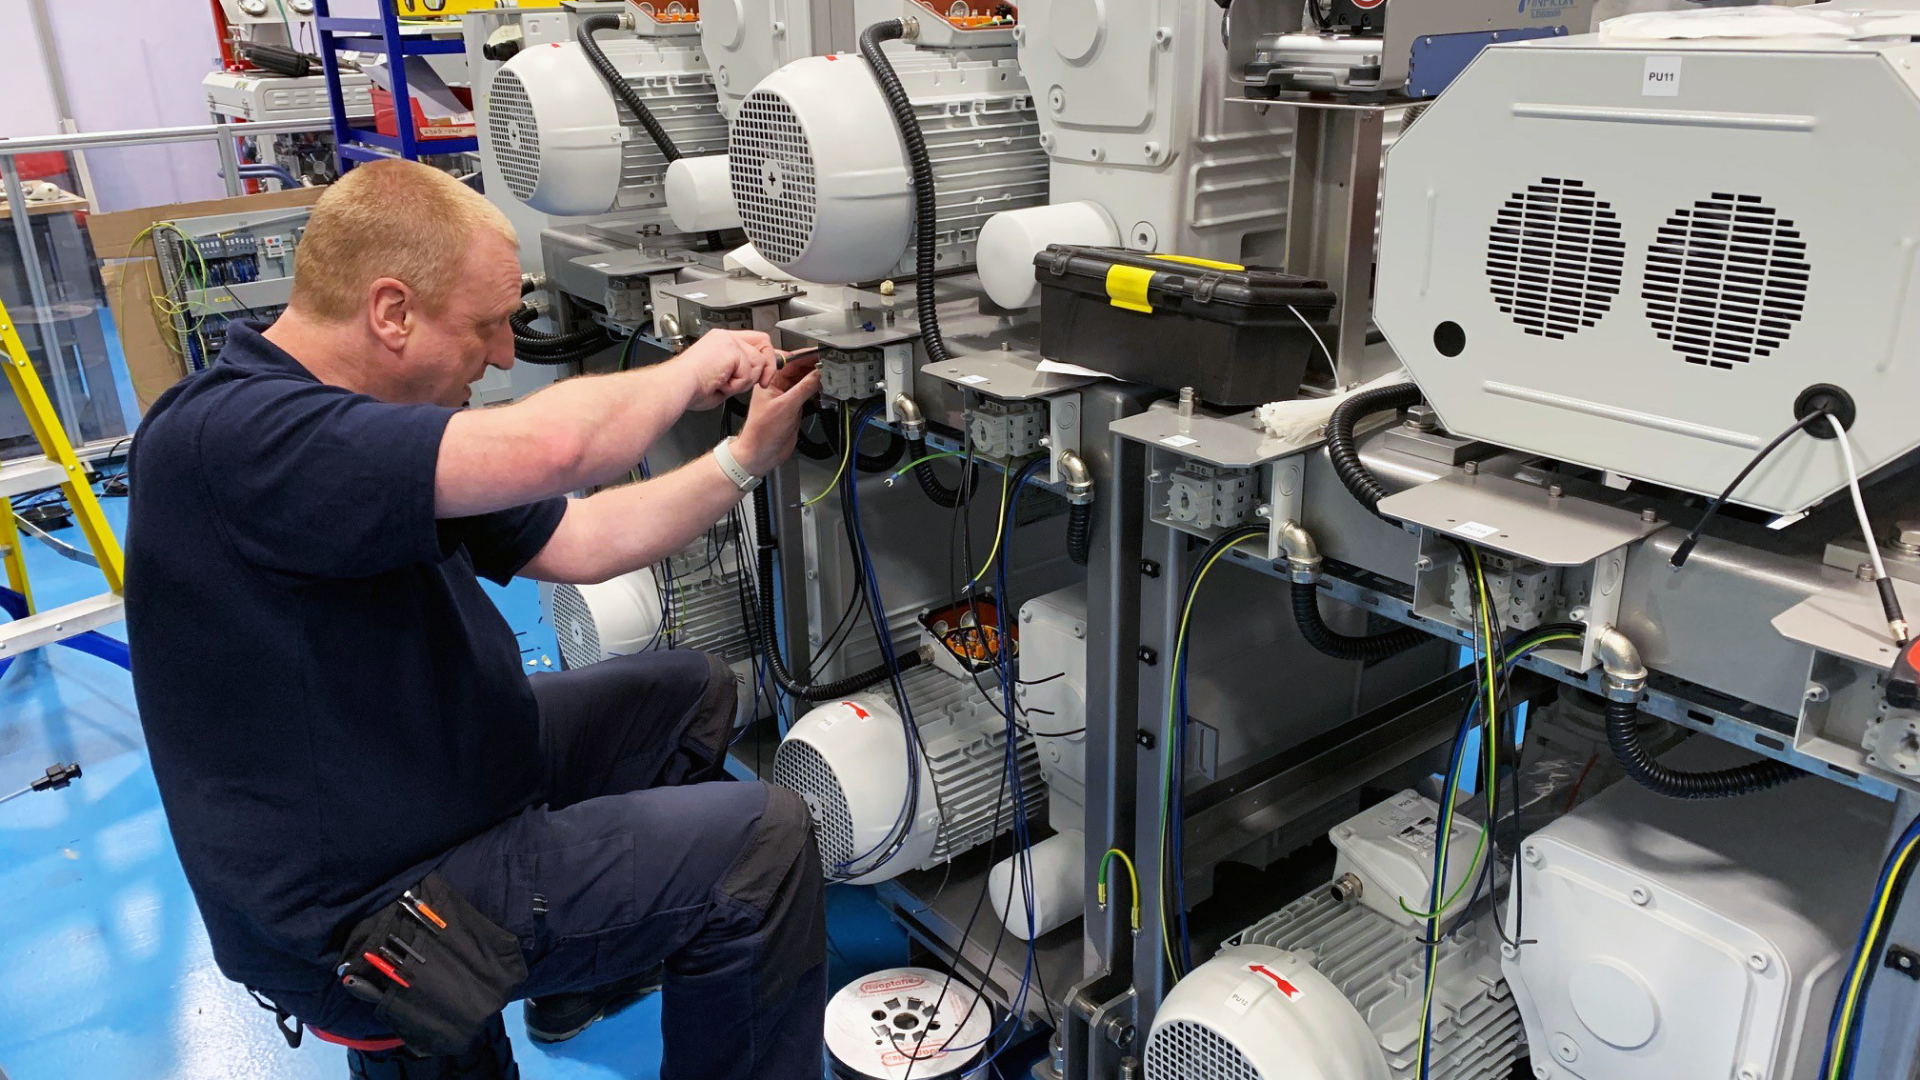
- Equipment Showing Its Age (Or Faults)
- The Problem: Leak detectors, pumps, and valves don’t last forever. As they degrade, you might see inconsistent results or an increase in frustrating false failures.
- Quick Fixes: Regular maintenance is key – consider a service contract for proactive care. Keep essential spare parts on hand to minimise downtime when something inevitably wears out. Think about modular systems where you can upgrade components instead of replacing everything.
- The Human Element: Operator Error
- The Problem: Leak detection demands careful work. Simple mistakes in setting up the test, interpreting the readings, or handling the equipment can lead to bad parts passing or good parts failing.
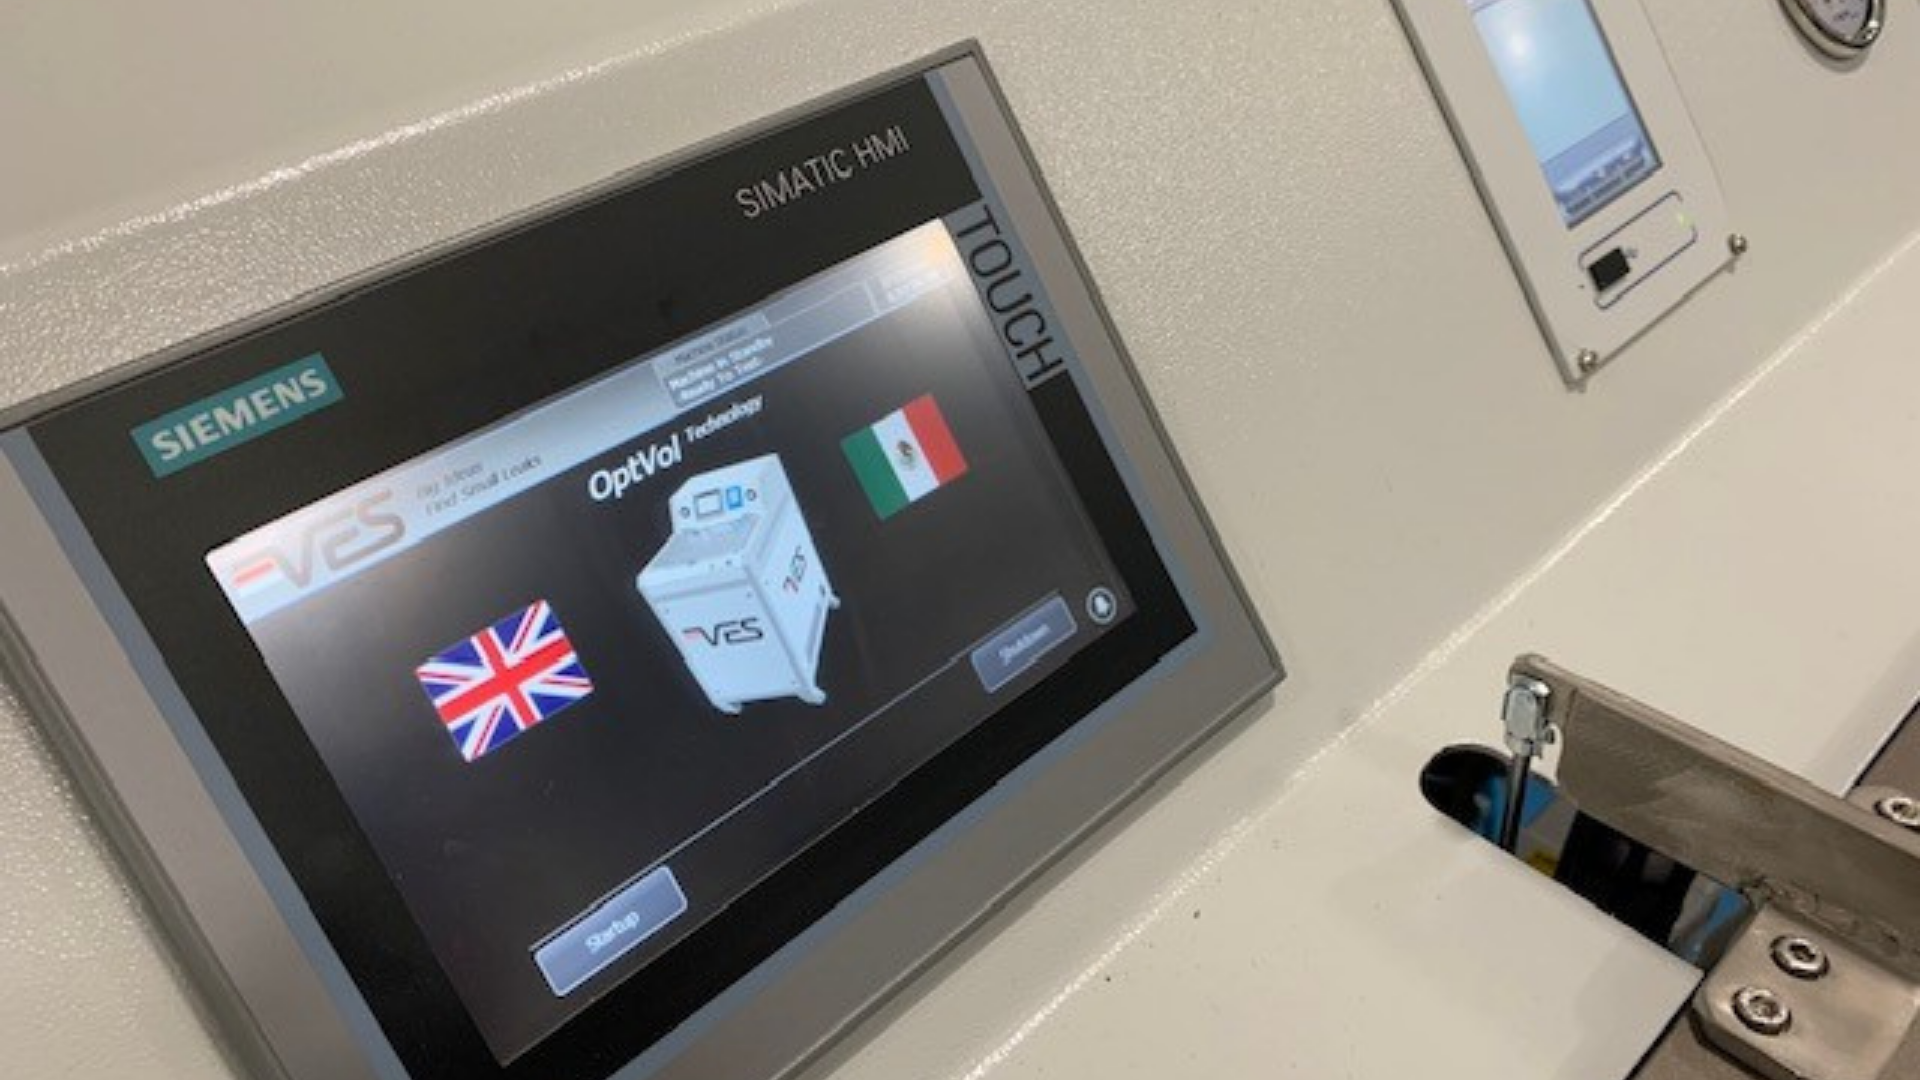
- Quick Fixes: Training isn’t a one-off; keep your team updated, especially with new gear or procedures. Automate steps where possible to remove variability. Ensure the control interface (HMI) is clear and intuitive, guiding operators effectively.
Turning Test Failures Into Success
Failed leak tests aren’t just annoying; they impact productivity, customer confidence, and product safety. By understanding these common pitfalls and taking proactive steps – focusing on good seals, clean parts, correct settings, stable environments, reliable equipment, and well-trained operators – you can drastically improve your testing success rate. Building robust leak testing processes requires tackling these challenges head-on.