HVAC refrigerant leak detection in production means proving that every component and circuit will hold its refrigerant before it leaves the factory. Almost no one does that with the refrigerant itself. The part is proved with a tracer gas, usually helium, and the choice of method decides how small a leak you can actually find.
This guide covers why production testing uses a tracer gas rather than refrigerant, how the main methods compare, where in the line each one fits, and how to choose.
Why production lines don’t test with refrigerant
Refrigerant is the thing you’re trying to keep in. It’s also expensive, regulated, and in the case of propane, flammable. Charging a part that might leak just to see whether it does is the wrong way round.
Helium is used instead because it’s inert, safe to handle, present in air at only very low levels, and small enough to find leak paths a refrigerant would also find. If a part is tight to helium at the right rate, it’ll be tight to the refrigerant.
The methods, and what each can see
Every method has a floor: the smallest leak it can reliably resolve. Specifying a leak rate below that floor doesn’t make the test tighter; it just makes the result meaningless.
Pressure decay. The part is pressurised with air and the pressure watched for a drop. It’s simple and cheap, and it resolves to around 1.0 x 10⁻² mbar·L/s. That’s useful for screening out gross leaks. It won’t find the leaks that cause slow refrigerant loss in the field.
Accumulation. The part is charged with helium inside a sealed enclosure at atmospheric pressure, and helium that escapes builds up until it can be measured. It resolves to around 1.0 x 10⁻³ mbar·L/s and suits parts where a vacuum chamber isn’t practical.
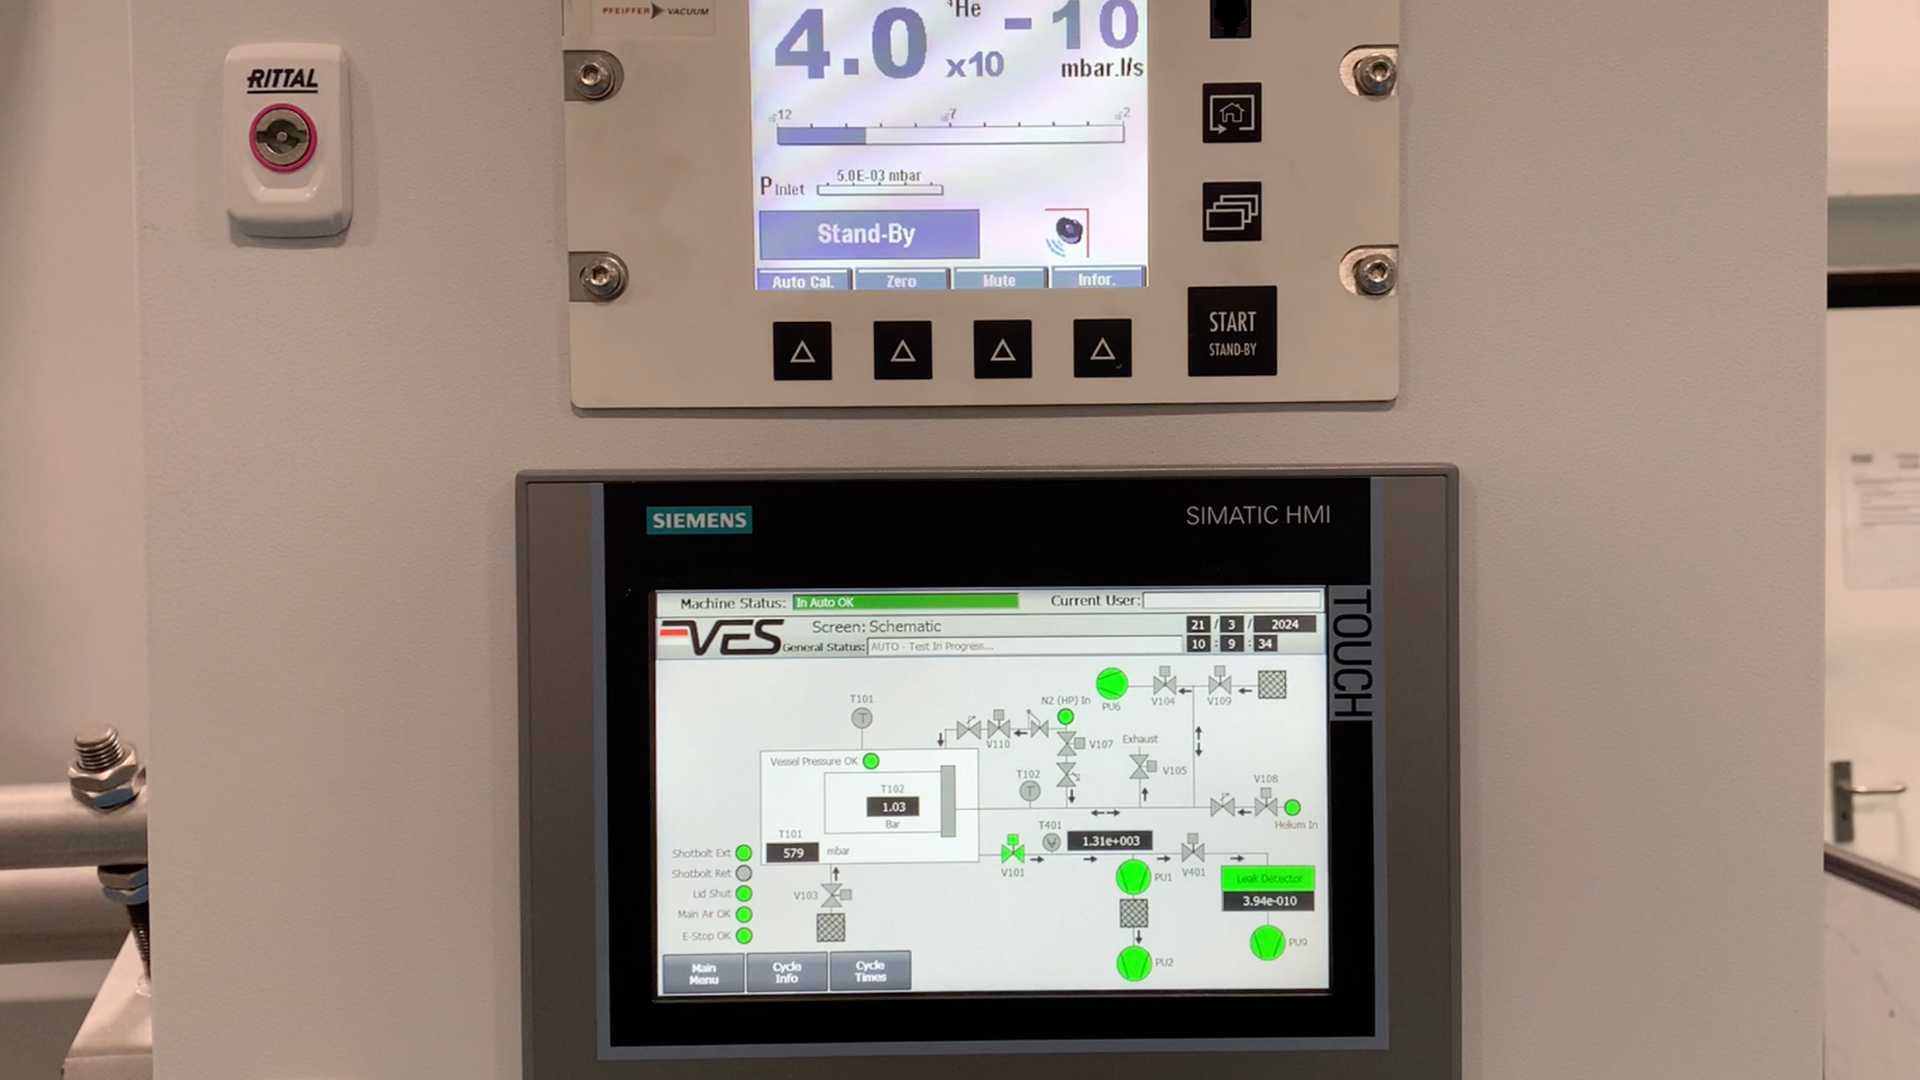
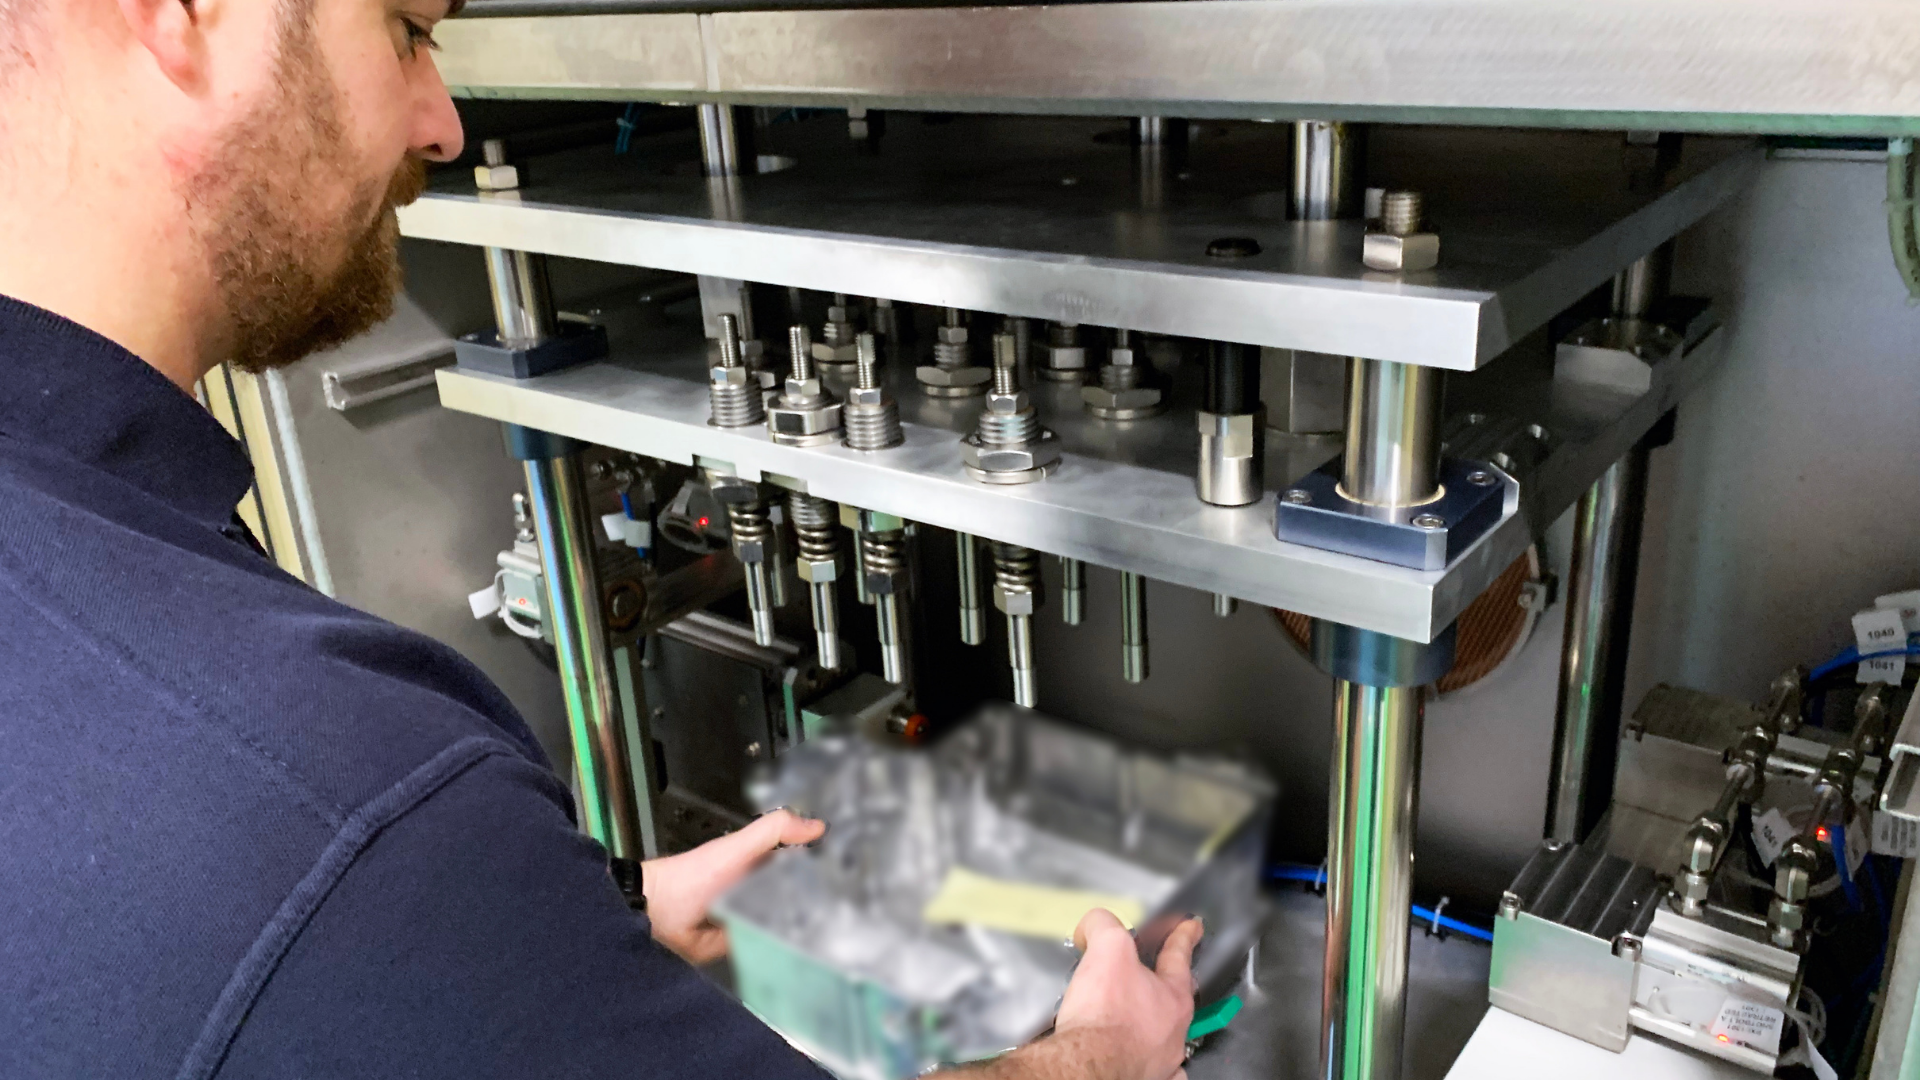
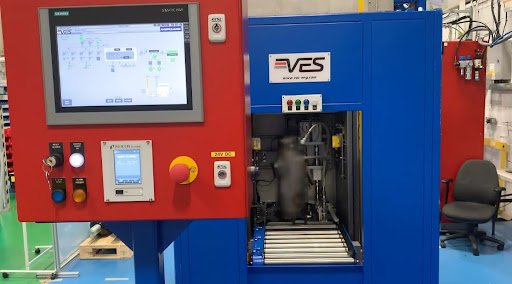
Helium vacuum chamber testing. The part is charged with helium inside an evacuated chamber and a mass spectrometer measures any helium that escapes, from anywhere on the part. On the systems we build, HVAC components are tested down to 2.0 x 10⁻⁶ mbar·L/s, with a clear pass-fail result and a measured leak rate value alongside it.
Sniffer testing. A probe is moved over the part to find where helium is escaping. It’s the right tool for locating a leak so a joint can be repaired. It’s the wrong tool for proving a part, because it only checks the places someone points it at.
Where each method fits in the line
The methods aren’t rivals. A well-designed line usually uses more than one:
- A gross leak screen first, so a badly leaking part is rejected quickly and doesn’t flood the chamber with helium.
- Helium vacuum testing to prove the part, every joint at once, with a measured value recorded.
- Sniffing to locate the leak on parts that can be repaired, followed by a retest to prove the repair.
Test components before they’re built into anything else, and test the assembled circuit before it’s charged. Each test proves different joints, and a leak found early costs far less than the same leak found in a charged unit.
Choosing a method
The right method follows from the leak rate you need, not the other way round. Work through it in this order:
- What leak rate does the product need? That depends on the refrigerant, the charge, the service life and the consequence of a failure. Smaller charges and flammable refrigerants usually need tighter rates.
- Which methods can resolve that rate? Rule out anything whose floor sits above it.
- What’s the cycle time? The test, including load and unload, has to fit your takt.
- Do you need to repair parts, or only accept and reject them? If you repair, you’ll need a way to find the leak as well as prove the part.
- What do you need to record? A measured value against every serial number is far more useful than a pass flag when a part is questioned later.
- What will helium cost you? With helium prices up 30 to 40 per cent in recent years, helium recovery is worth modelling for high-volume lines.
Every machine we design and manufacture is built to a CPK of 1.67, so the test itself isn’t the source of variation in your results. Our leak rate calculator is a quick way to convert between units while you work out the specification.
Going deeper
For specific components and questions:
- HVAC coil leak testing covers methods and leak rates for coils.
- Leak detection for HVAC components covers condensers, evaporators, radiators and heat exchangers.
- Helium leak testing: sniffer vs accumulation compares the two atmospheric methods.
- Why “holding pressure” doesn’t mean leak-free explains the limits of pressure decay.
The HVAC leak testing hub brings the full range together. If you’ve got a part and a leak rate in mind, tell us the part and we’ll talk through what it needs.
Frequently asked questions
How is refrigerant leak detection done in HVAC manufacturing?
Components and circuits are proved tight with a tracer gas, usually helium, before any refrigerant is charged. Helium vacuum chamber testing proves the whole part; sniffing locates leaks for repair; pressure decay is used as a gross leak screen.
Why use helium instead of refrigerant for leak testing?
Helium is inert, safe, present in air at only very low levels and easy to measure precisely. Testing with it avoids charging expensive, regulated or flammable refrigerant into parts that might leak.
What is the most sensitive refrigerant leak detection method?
Of the methods used in HVAC production, helium vacuum chamber testing resolves the smallest leaks. On the systems we build, HVAC components are tested down to 2.0 x 10⁻⁶ mbar·L/s.
Is pressure decay good enough for refrigerant leak detection?
For screening gross leaks, yes. It resolves to around 1.0 x 10⁻² mbar·L/s, which is too coarse to find the small leaks that cause slow refrigerant loss over a product’s life.