
There are eight common leak testing methods, and the most and least sensitive are around a million times apart in what they can detect. Ultrasonic, bubble, pressure decay and vacuum decay testing find leaks down to roughly 10⁻² to 10⁻³ mbar·L/s. Helium sniffer and spray testing reach about 10⁻⁶ mbar·L/s. Helium vacuum chamber testing resolves 10⁻⁸ mbar·L/s or better and returns a measured leak rate for the whole part. The right method is the one that can resolve your specification with margin, at your cycle time.
This page compares all eight side by side, explains where each one stops working, and sets out the questions that decide which to use. If you’d rather have it as a document, the original Leak Testing Methodologies PDF is still available to download.
The eight methods at a glance
| Method | How it works | Typical sensitivity (mbar·L/s) | Locates the leak |
|---|---|---|---|
| Ultrasonic | Listens for the high-frequency sound a leak makes | 10⁻² | Roughly |
| Bubble test | Part pressurised under water, operator watches for bubbles | 10⁻³ in practice | Yes |
| Pressure decay | Part pressurised and isolated, fall in pressure measured | 10⁻² | No |
| Vacuum decay | Part evacuated and isolated, rise in pressure measured | 10⁻² | No |
| Helium sniffer | Part charged with helium, surface scanned with a probe | 10⁻⁶ | Yes |
| Helium spray | Part evacuated to a detector, outside sprayed with helium | 10⁻⁶ | Yes |
| Helium accumulation | Part charged with helium in a sealed enclosure, rise in helium concentration measured | 10⁻³, depending on enclosure size | No |
| Helium vacuum chamber | Part in an evacuated chamber, filled with helium, detector measures what escapes | 10⁻⁸ or better | No, unless a sniffer is added |
Leak rate units vary between industries. If your specification is in atm·cc/s, Pa·m³/s or sccm, the leak rate calculation guide has a conversion table.
Ultrasonic testing
Every leak makes a sound, and small leaks make one too high for the ear to hear. An ultrasonic detector picks it up, usually as a handheld instrument with headphones and a sensitivity adjustment.
It can’t measure a leak rate, only estimate one from the frequency, and in a busy factory it can’t tell a leak from other ultrasonic noise. With a sensitivity of around 10⁻² mbar·L/s, it’s a tool for finding large leaks, not for proving parts in production.
Bubble testing
The part is pressurised, usually with dry air or nitrogen, and lowered into a water tank. A leak produces a stream of bubbles. In theory the method reaches 10⁻⁴ mbar·L/s, but lighting, water clarity, part orientation and movement bring the practical figure closer to 10⁻³.
It locates leaks, but it can’t quantify them, the part has to be dried afterwards, it takes floor space and labour, and the result depends on the person watching. Bubbles can also be trapped in the part’s structure, or released from it, giving false readings.
Pressure decay
The part is filled to a set pressure, isolated, and monitored. A falling pressure means a leak. It’s simple, compact, dry and inexpensive, and it doesn’t rely on an operator’s judgement. Sensitivity is around 10⁻² mbar·L/s, limited by the part’s volume, the transducer’s resolution and the test time, and temperature changes can read as leaks.
Its most valuable role is often as a gross-leak check before a helium test, so that a part with a large leak doesn’t release enough helium to contaminate the system. Read more about the pressure decay method.
Vacuum decay
The reverse of pressure decay: the part is evacuated and any rise in pressure is measured. It’s less affected by temperature, but it only suits parts that can take a vacuum, the pressure difference can’t exceed 1 bar, and it stresses the part in the opposite direction to service, so some leaks close rather than open. Out-gassing and moisture can also read as leaks. Read more about the vacuum decay leak test, or see vacuum decay vs pressure decay compared.
Helium sniffer testing
The part is charged with helium and its surface is scanned with a sniffer probe. A leak raises the helium concentration near the leak point, and the probe detects it, down to around 10⁻⁶ mbar·L/s.
It’s good for finding where a leak is. It isn’t good for proving a whole part, because it tests points rather than the part. Every point scanned can pass while the total leakage across the part is above the acceptance limit. The result also depends on how fast and how close the operator moves the probe, and repeated failures can contaminate the air around the test with helium. See helium sniffer leak testing and sniff testing vs spray testing for more.
Helium spray testing
The part is evacuated through a pumping system connected to a helium detector. If it can’t reach vacuum, it has a gross leak. If it can, the outside is sprayed with helium, and any helium drawn in through a leak is detected and measured, down to around 10⁻⁶ mbar·L/s. It locates leaks without high pressure, but it’s operator-dependent, it stresses the part in the opposite direction to service, and leaks close together can mask each other.
Helium accumulation testing
The part sits in a sealed enclosure, is evacuated as a gross-leak check, then charged with helium. Fans keep the air in the enclosure mixed, and after a set time the air is sampled for any rise in helium. Sensitivity is around 10⁻³ mbar·L/s depending on enclosure size, with repeatable results and no vacuum chamber, which keeps the cost down.
Because it isn’t affected by temperature, it suits brazed parts that are still cooling after the furnace. It can’t locate a leak on its own, but a sniffer can be added for that. Read more on getting the most from accumulation testing.
Helium vacuum chamber testing
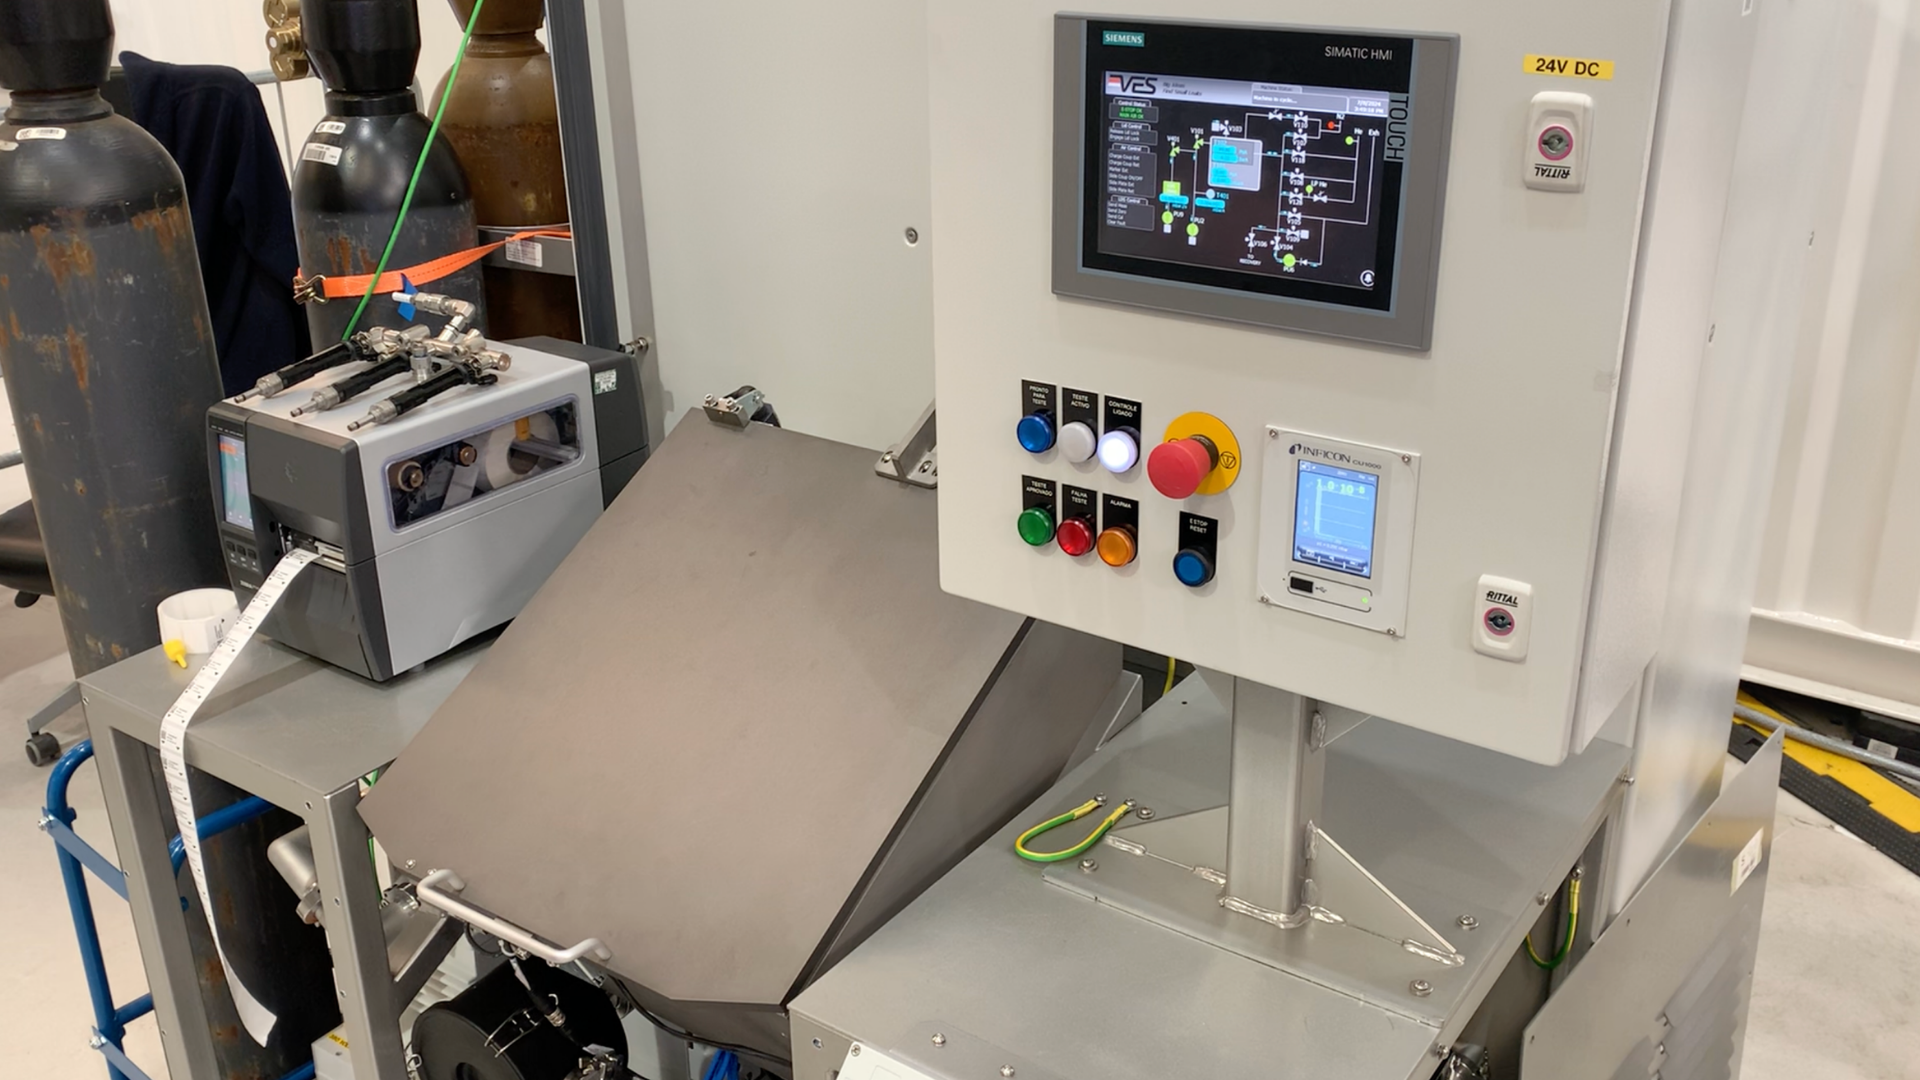
The part is connected to the tooling and placed in a chamber. Chamber and part are evacuated, a pressure difference is held first as a gross-leak test, then the part is filled with helium. Any helium escaping through the part’s walls reaches the detector connected to the chamber.
This is the most sensitive method, at 10⁻⁸ mbar·L/s or better, and it measures the total leak rate of the whole part rather than individual points. It can be fully automated and integrated into a production line, so the result doesn’t rely on an operator. The trade-off is cost: it’s the larger investment, and helium is a running cost, which helium recovery can reduce substantially. See our helium leak testing systems.
How to choose a method
The right method follows from the part and the specification, not the other way round. These are the questions that decide it:
- What is the pass or fail leak rate, or how long does the product have to last?
- Does the whole part have to be proved, or specific points?
- How large is the part, and what pressure is it tested at?
- What cycle time does the line need?
- Does the test have to be automated, or can it be manual?
- What’s the budget, including running costs such as helium?
Many production lines combine methods: a pressure decay or vacuum gross-leak step first, then a helium fine-leak test, so that a part with a large leak never reaches the helium stage.
If you’re weighing up methods for a part, talk to us about it. Tell us the specification, the pressure and the cycle time, and we’ll tell you which method can actually prove it and what the tooling would have to do.